A working TigerVNC setup comes down to five moves: install the server and a desktop, set a VNC password as the user who'll own the session, map display :1 to that user, start the systemd unit, and connect through an SSH tunnel. Everything here runs on Debian 13, which ships TigerVNC 1.15.0, with display :1 on port 5901. Ubuntu 24.04 takes the same commands with a few older paths.
How the parts fit
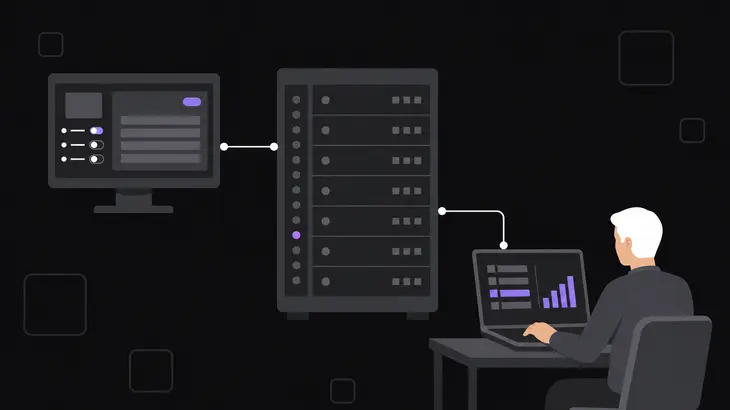
The server you start is Xvnc, packaged as Xtigervnc. It runs an X server with a virtual screen instead of a monitor: your desktop runs on it as on any X display, and you reach it only through a VNC viewer.
You can bring it up two ways. The systemd unit hands off to tigervncsession, which opens the user session, starts the server and launches the desktop. That helper runs the same tigervncserver -fg wrapper you'd start by hand, so both paths read the same config and follow the same listening rule. Use the unit for a desktop that's there after every boot, and the wrapper for a session you start and kill yourself.
Each server owns a display number and listens on TCP 5900 plus that number, so :1 is port 5901. The viewer takes the host plus either the display (host:1) or the port (host::5901).
Install the server, the viewer and a desktop
On the server, install the server and the password tool:
sudo apt install tigervnc-standalone-server tigervnc-toolsOn the machine you'll connect from, install the viewer:
sudo apt install tigervnc-viewerIf sudo answers that you aren't in the sudoers file, you probably set a root password during the install. Then the Debian installer leaves sudo out and keeps your user out of the sudo group, so run these as root after su --login, or install sudo and add yourself to the group first.
If you've been reading upstream docs, the names won't match. Debian's packaging puts tiger in front of everything: the wrapper is tigervncserver, the password tool tigervncpasswd, the viewer xtigervncviewer, and the package ships the unit as /usr/lib/systemd/system/tigervncserver@.service. Typing vncserver or vncpasswd still works, because the packages register those names as alternatives. No vncserver@.service unit exists, though, so an upstream systemctl line for vncserver@:1 has nothing to act on. Debian 13 ships 1.15.0, so your per-user files live under ~/.config/tigervnc/, not the ~/.vnc/ that older guides show.
The session also needs a desktop to start, and a headless box has none. Install Xfce and look up its session name:
sudo apt install xfce4
ls /usr/share/xsessions
You'll see xfce.desktop, which xfce4-session installs there. Drop the .desktop and you have the session name: xfce.
Set the VNC password
Run the password tool as the user who'll own the session, not through sudo:
tigervncpasswdIt asks for Password: and Verify:, then Would you like to enter a view-only password (y/n)?. Answer n unless someone should watch without control. The tool takes six to eight characters: anything shorter comes back with Password must be at least 6 characters - try again, and anything longer with Password should not be greater than 8 characters, because classic VNC authentication only uses the first eight.
The password lands in ~/.config/tigervnc/passwd with mode 0600, and the tool creates the directory if it's missing. Keep the mode: if you copy a password file over from another box and group or others can read it, the wrapper's start check refuses with ~/.config/tigervnc/passwd must NOT be accessible by others. Set permission to 0600! (it prints the full path). chmod 600 ~/.config/tigervnc/passwd clears it.
Keep the port off the network
One setting decides whether the server answers on the network: localhost. If you leave it unset, the wrapper decides for you. It listens on loopback only unless securitytypes lists a TLS or X509 type and nothing ending in None, and then it listens on every address. That means a later edit to securitytypes can quietly put the port on the network. The *None types skip user authentication, so never let them near a network listener.
Don't leave it to that rule. Pin it with -localhost yes or -localhost no on the wrapper, or a bare localhost line in ~/.config/tigervnc/config for the service. Keep it on and come in over SSH; turn it off only on a network you trust, with only TLS types in the list.
Run it as a systemd service
Map display :1 to your user in /etc/tigervnc/vncserver.users, one :display=user line per desktop:
echo ':1=<user>' | sudo tee -a /etc/tigervnc/vncserver.usersThen, as that user, put the server options in ~/.config/tigervnc/config, one option=value or bare option per line. The service falls back to this file when you have no ~/.config/tigervnc/config.pl:
session=xfce
securitytypes=vncauth,tlsvnc
geometry=1920x1080
localhost
alwaysshared
session=xfce is the name you found in /usr/share/xsessions. Leave it out and Debian's session script starts whatever /usr/bin/x-session-manager points to, which may not be the one you want. Skip geometry and you get 1920×1200. localhost keeps the listener on loopback, and alwaysshared lets a second viewer join instead of kicking the first one off.
Start it now and at every boot:
sudo systemctl enable --now tigervncserver@:1.serviceThen confirm it came up and where it's listening:
systemctl status tigervncserver@:1.service
ss -tln | grep ':5901'
You want active (running) in the status output, and a listening socket on 127.0.0.1:5901 or [::1]:5901. A wildcard address there means localhost didn't take.
After any change to ~/.config/tigervnc/config, restart the unit with sudo systemctl restart tigervncserver@:1.service. The restart stops the X server, so everything open in that desktop closes with it. Save your work in the session first.
When you're done with it for good, disable --now stops the instance and takes it out of boot in one go:
sudo systemctl disable --now tigervncserver@:1.serviceStart a throwaway session with the wrapper
For a quick session, run the wrapper as yourself. It won't start on a display that's already running a server, so take :2 (port 5902) while the service holds :1:
tigervncserver :2You'll get New Xtigervnc server '<host>:2 (<user>)' on port 5902 for display :2. followed by a Use xtigervncviewer ... line with the viewer command that matches. If :2 is busy, the wrapper prints A Xtigervnc server is already running for display :2 and stops. With no password file yet, it runs tigervncpasswd for you before it starts.
-list shows the servers you started, and -kill stops one:
tigervncserver -list
tigervncserver -kill :2
-list prints a TigerVNC server sessions: table with each display, its port and its process ID. -kill :2 answers Killing Xtigervnc process ID <pid>... success!.
Which config file the wrapper reads
The wrapper layers its config: /etc/tigervnc/vncserver-config-defaults first, then your ~/.config/tigervnc/config.pl, then whatever you pass on the command line, and /etc/tigervnc/vncserver-config-mandatory last, overriding all of them. With no config.pl it falls back to the same ~/.config/tigervnc/config the service reads, so one file drives both. If you do create config.pl, watch the syntax: it and the /etc/tigervnc files are Perl, not option=value:
$SecurityTypes = "VncAuth";Connect with the viewer
Through an SSH tunnel
With localhost on, forward a local port to the server's loopback port with an SSH local forward:
ssh -C -L 5901:localhost:5901 <user>@<server-host>Leave that session open and, from a second terminal, point the viewer at your end of the tunnel. Two colons mean a TCP port, not a display:
xtigervncviewer localhost::5901You get the password prompt, then a window with the Xfce desktop. If 5901 is already taken on your workstation, pick any free local port and use it in both commands.
You can also let the viewer build the tunnel. With -via it runs the SSH forward for you, and the host after it is resolved from the gateway's side, so localhost:1 means display 1 on the server itself:
xtigervncviewer -via <server-host> localhost:1Directly on a trusted network
Turn localhost off, and cut securitytypes down to tlsvnc in the same edit. The vncauth,tlsvnc line is already enough to put the server on every address, but the server offers both types and the viewer makes the choice, so a viewer can settle on plain VNC auth and send the session in the clear. For the service, edit ~/.config/tigervnc/config and restart the unit:
sed -i 's/^securitytypes=.*/securitytypes=tlsvnc/; /^localhost$/d' ~/.config/tigervnc/config
sudo systemctl restart tigervncserver@:1.service
For a wrapper session, start it as tigervncserver :2 -localhost no instead; it reads the same config file, so it gets the tlsvnc line too. Run ss -tln again and you'll see a wildcard address such as 0.0.0.0:5901 or [::]:5901 for the service, or the same on 5902 for the wrapper on :2.
If you run ufw on the server, open the port to your client network only, and allow SSH before you enable ufw: enabling it resets ufw's chains, which can cut off the session you're typing in.
sudo ufw status
sudo ufw allow proto tcp from <client-subnet> to any port 5901
Then connect with one colon and the display number, or two colons and the port:
xtigervncviewer <server-host>:1
xtigervncviewer <server-host>::5901
From a Windows or macOS workstation, grab the project's Windows installer or universal macOS build of the viewer. The Linux viewer options mostly carry over.
What changes on Ubuntu 24.04
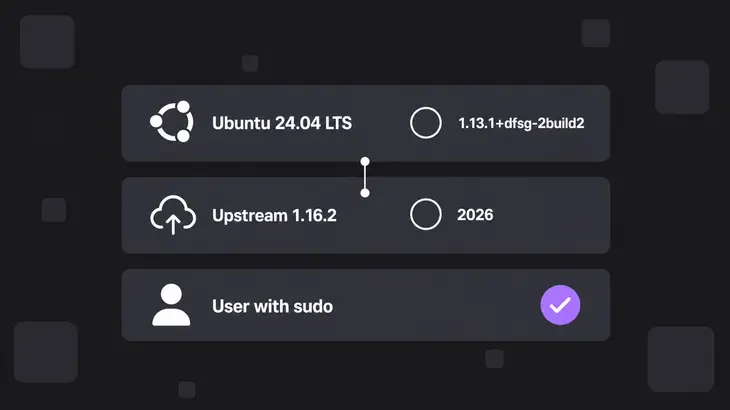
Ubuntu 24.04 uses the same packages, commands, unit name, wrapper and localhost rule. It ships 1.13.1, which predates the move to XDG paths, so everything per-user sits in ~/.vnc/. For the full Ubuntu walkthrough with Xfce and the packaged unit, see Set up a VNC server on Ubuntu 24.04. Otherwise, swap these into the steps above:
- The password file is
~/.vnc/passwd, and 1.13.1'stigervncpasswdtakes a password longer than eight characters without complaint and only uses the first eight. The wrapper's Perl file is~/.vnc/tigervnc.confinstead ofconfig.pl. The 0600 check applies as before. - Service options go in
~/.vnc/config, which the service falls back to when there's no~/.vnc/tigervnc.conf. - The service and the wrapper both log to
~/.vnc/<host>:<display>.log. - The unit lives under
/lib/systemd/system/instead of/usr/lib/systemd/system/. - ufw is Ubuntu's firewall tool and ships disabled, so the allow rule only bites once you enable it.
Troubleshoot a failed start or a bad connection
systemctl status shows No user configured for display :1. The start script found no :1= line in /etc/tigervnc/vncserver.users. Add the mapping and run sudo systemctl start tigervncserver@:1.service again.
The unit fails for a user who's logged in at the console. You can't start a server for a user who already has a graphical session. Log that user out of the local desktop, or map :1 to another account. To share the desktop that's already on screen, use x0tigervncserver instead, as long as that login is an X11 session.
The viewer connects, but the desktop is empty or the wrong one. session= is unset, so the server started whatever x-session-manager points to, or it names no file in /usr/share/xsessions. Run ls /usr/share/xsessions, set session=xfce in ~/.config/tigervnc/config, and restart the unit.
A direct connection is refused, and ss -tln shows 127.0.0.1:5901. localhost is still on. Use the SSH tunnel, or turn it off as in the direct-connect steps.
A direct connection hangs, and ss -tln shows a wildcard address on 5901. The server is listening, so a firewall is dropping the packets. Check sudo ufw status and add the allow rule for 5901.
Anything else. Read the server log, <host>:1.log, with the host as hostname -f prints it. The service keeps it in its state directory, ~/.local/state/tigervnc/, and the wrapper next to its config, in ~/.config/tigervnc/. Then capture a verbose viewer log with -Log. The viewer writes that log to stderr, hence the 2>:
xtigervncviewer -Log '*:stderr:100' <server-host>:1 2> tigervnc-viewer.logSettle one thing before anyone asks you to open 5901: either the desktop stays on loopback for good, or securitytypes comes down to TLS types only before the localhost line comes out.
FAQs
How do I share the desktop I am already logged into?
Use x0vncserver from tigervnc-scraping-server. It shares an existing X display instead of creating a virtual desktop, and you start it through the x0tigervncserver wrapper; x0tigervncserver -h lists its options. That desktop has to be an X11 session, and Debian's GNOME logs in on Wayland by default, so uncomment WaylandEnable=false in /etc/gdm3/daemon.conf and reboot first.
Can I share a Wayland desktop?
Not with the packaged versions. w0vncserver arrived in 1.16.0 for sharing Wayland desktops, and Debian 13 (1.15.0) and Ubuntu 24.04 (1.13.1) both package older releases.
How do I give a second user their own desktop?
Give them their own display: one more line in /etc/tigervnc/vncserver.users. They run tigervncpasswd and write their own ~/.config/tigervnc/config, then you start their instance, which listens on port 5902:
echo ':2=<second-user>' | sudo tee -a /etc/tigervnc/vncserver.users
sudo systemctl enable --now tigervncserver@:2.service